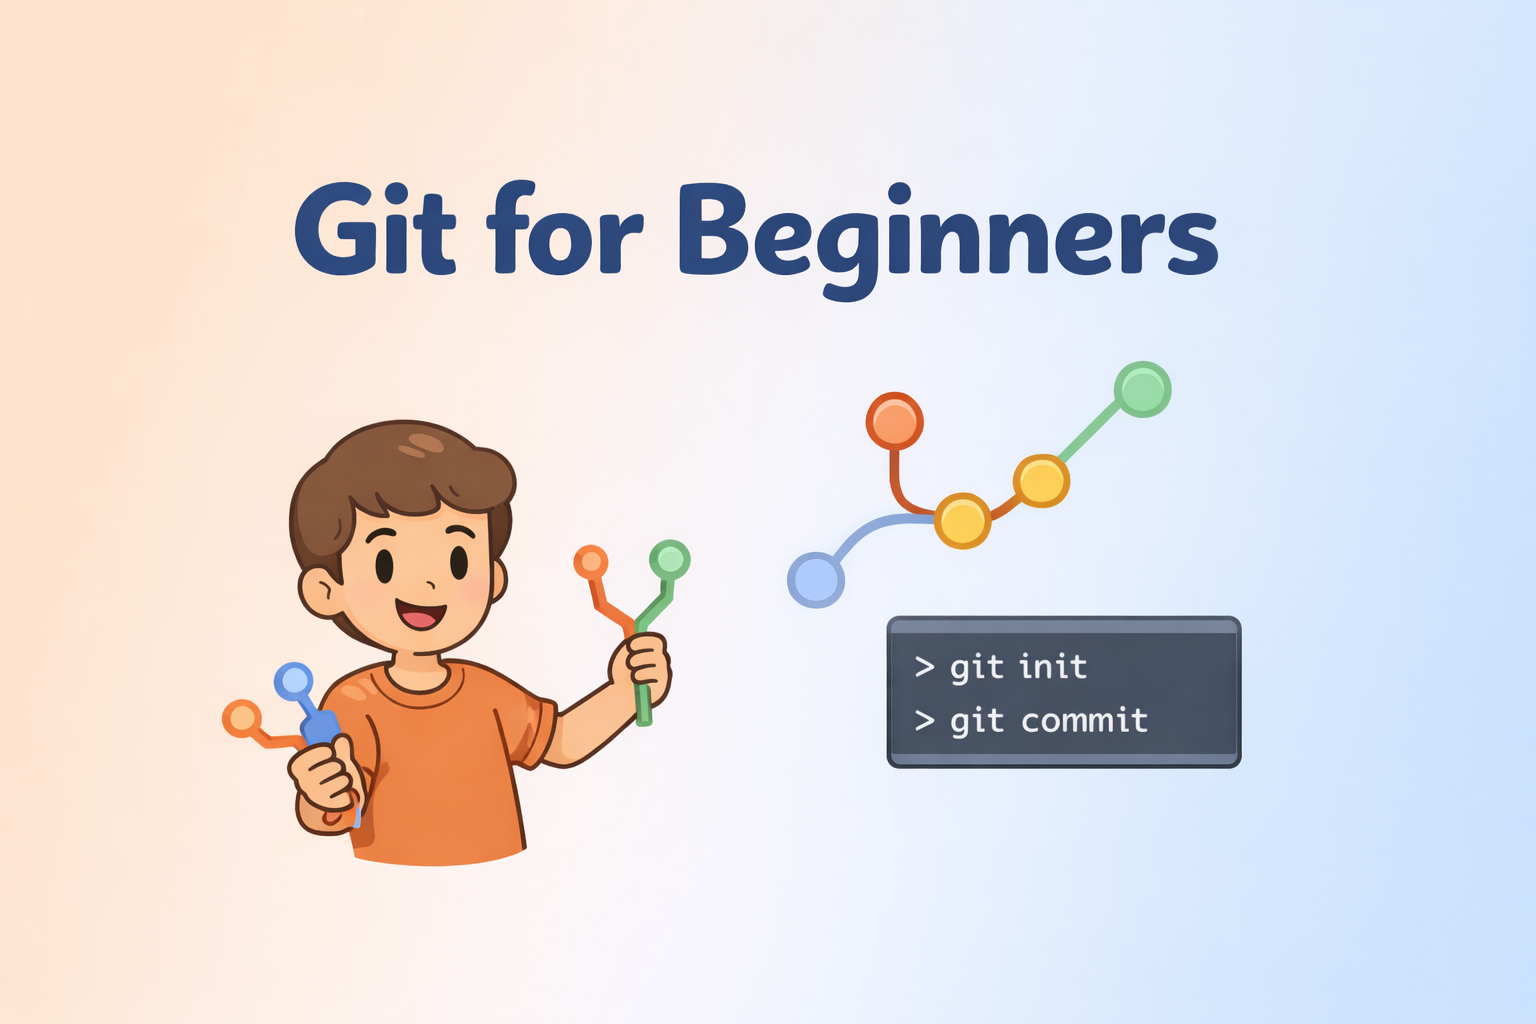
Git Tutorial for Beginners: Master Version Control in 10 Minutes
I build and explore modern web tech, scalable architectures, and full-stack solutions.
When I started learning coding, I used to share my project folder in a zip file using pendrive.
After some days, I got confused. Which folder is latest? What did I change? Did my friend change something? Even I couldn’t remember what I edited yesterday.
One day my code broke and I had no backup. I felt really bad because I worked many hours on it.
Then I saw how developers work. They don’t keep “final_final_v3.zip”. They use Git.
Git felt scary in the beginning. Big words, many commands, and I thought it is only for advanced people.
But slowly I understood one simple thing: Git is like a code tracker. It helps you save your work step-by-step, and also helps teams work together without messing up each other’s code.
WHAT IS GIT?
Git is a tool that tracks changes in your code.
Like, when you edit a file, Git can remember:
what changed
when it changed
who changed it
Git works mainly on your laptop (local).
It keeps a hidden folder named .git inside your project. That folder stores the full history of your project.
Think like this:
If your project is a notebook, then Git is the person who keeps photo copies of every important page version.
So even if you make mistakes later, you can go back.
Git is a Version Control System (VCS).
WHY GIT IS USED
Git is used because real projects have these problems:
You forget what you changed.
Team members change same files and code becomes messy.
You need to test features without breaking main code.
You want backup of every important step.
Also, Git helps in collaboration. But Git alone is local.
For sharing with team, we use a remote server like:
GitHub, GitLab, Bitbucket, Gitea, AWS CodeCommit.
Remote is like “single source of truth” where everyone pushes and pulls code.
WHY MOST BEGINNERS GET CONFUSED
Here is why I got confused, and many beginners also:
They think Git = GitHub
But Git is tool, GitHub is website/server.They don’t understand “save” system of Git
They think editing file is automatically saved in Git.They skip staging concept
They don’t know whygit addis needed.They fear commands like reset, rebase
They use it without knowing, then lose work.
SIMPLE EXAMPLE
Imagine you are doing an assignment in college.
You write page 1 today. Tomorrow you add page 2. Next day you edit page 1 again.
Now you want to know:
what you changed on day 2
what you changed on day 3
if your friend edited something
If you only save one file again and again, you will get confused.
Git is like keeping “approved checkpoints” of your assignment.
In Git language:
Your project folder = your working area
Staging = “ready to save list”
Commit = “final saved checkpoint”
Branch = “separate copy to try new idea”
Remote (GitHub) = class group where everyone submits work
Common Git Commands
Step 0: Create a project folder
Go inside your project folder first.
1) git init
This starts Git tracking in your project.
git init
What it does:
Creates a hidden folder called
.gitThis
.gitstores all history of your project
Important:
Don’t manually edit files inside .git. Git itself will manage it.
2) git status
This shows what is happening in your project right now.
git status
It tells:
which files changed
which files are staged
which files are not tracked
This command is your best friend.
3) git add <filename> and git add .
This puts files into staging area (ready to commit).
git add index.html
Or add all files:
git add .
Meaning:
“Git, I want to include these changes in my next save (commit).”
4) git commit -m "message"
This makes a checkpoint.
git commit -m "Add login page"
A commit stores:
message
commit id (hash)
author name and email
date/time
parent commit id (previous link)
Tip from my side:
Write commit message in present tense.
Example: “Fix navbar bug” not “Fixed navbar bug”.
Shortcut: git commit -am "msg"
Many people use this.
But remember:
It only works for files that were already tracked before.
So usually:
git add .+git commit -m "msg"is safer.
5) git log and git log --oneline
See your commit history.
git log
Simple view:
git log --oneline
This is useful when you want to find commit id.
6) git diff
This command shows difference between your last commit and current changes.
git diff
What it means in simple words:
It compares saved version vs current edited version
It shows:
added lines
removed lines
modified lines
Real feeling example:
You edited a file, code is not working, and you forgot what you touched.
Before committing, you run git diff.
Git shows you:
“See, you changed this line here.”
This saved me many times from committing wrong code.
git diff commit_id1 commit_id2
This is used when you want to compare two old commits.
git diff <commit_id1> <commit_id2>
Simple meaning:
Compare commit A with commit B
See what changed between them
Example situation:
Yesterday code was working
Today code is broken
You want to know what changed in between
So you:
Run
git log --onelineCopy two commit IDs
Run
git diff commit1 commit2
Now Git clearly shows:
“This line was added”
“This function was removed”
No guessing. No confusion.
When I Usually Use git diff
I personally use git diff when:
Before committing (to double-check my changes)
Code suddenly breaks
I forget what I edited
Reviewing my own work
Think of git diff as before-and-after mirror for your code.
Small Tip from My Experience
Always run:
git diff
before git commit
It takes only few seconds but saves you from pushing mistakes.
Branching (Very important in real teams)
7) git branch
Shows all branches and current branch.
git branch
You will see something like * main.
That * means current branch.
Git also knows current branch using .git/HEAD (internal file).
You don’t need to touch it, just know Git tracks it.
8) git checkout -b "feat/a"
Create a new branch and switch to it.
git checkout -b "feat/a"
Meaning:
“I want a separate line to work on feature A.”
9) git checkout main
Switch branch only.
git checkout main
Merging (Bring feature work into main)
10) git merge feat/a
Run this from main branch.
git checkout main
git merge feat/a
This will bring all commits from feat/a into main.
If feature branch has 3 commits, main will get those 3 commits also.
11) git merge --squash feat/a
Run this from main branch.
git checkout main
git merge --squash feat/a
What happens:
It brings changes, but does NOT create commit automatically
Changes will stay in staging area
Then you do your own commit
Like:
git add .
git commit -m "Add feature A"
This is neat when you want main branch clean.
Rebase (Sync your branch with main)
12) git rebase main
This is done from your feature branch.
git checkout feat/a
git rebase main
Simple meaning:
“Bring latest main changes into my feature branch, so I don’t work on old code.”
Easy rule:
Rebase happens on feature branch
Merge happens into main
Real-life feel:
If main branch got updates by team, rebase helps you catch up before merging.
Undo changes safely (Revert and Reset)
13) git revert <commit_id>
This is safe undo.
git revert <commit_id>
What it does:
It creates a NEW commit that cancels that old commit
History stays clean
Good for shared/corporate projects
14) git reset (danger area, but important)
Reset moves your HEAD to an old commit.
There are 3 types:
a) git reset --soft <commit_id>
git reset --soft <commit_id>
Meaning:
commit is removed
changes stay staged (in staging area)
Good when:
You want to change commit message or combine commits.
b) git reset <commit_id> (mixed default)
git reset <commit_id>
Meaning:
commit removed
changes stay in working directory (not staged)
c) git reset --hard <commit_id>
git reset --hard <commit_id>
Meaning:
commit removed
changes removed from staging + working directory
This is dangerous because you can lose work.
If you are beginner, be slow with --hard.
Remote (GitHub etc.) for collaboration
What is remote?
Remote is an online place where your repo lives.
Local = your folder
Remote = repository on server (GitHub/GitLab/etc.)
15) git remote -v
Check remote connection.
git remote -v
16) git remote add origin <repository_url>
Connect your local repo to remote.
git remote add origin <repository_url>
Here:
originis just a name (default name)URL is your GitHub repo link
17) git push -u origin main
Send commits to remote.
git push -u origin main
-u sets upstream so next time you can just do git push.
18) git clone <url>
Download a remote repo to your laptop.
git clone <url>
19) git remote set-url origin <our_repo_url>
Change remote URL.
git remote set-url origin <our_repo_url>
Useful if you changed repo, or you copied project.
Fetch vs Pull (Big confusion for beginners)
20) git fetch
git fetch
It downloads updates but does NOT apply them to your working code.
Like:
“Show me updates, I will decide later.”
21) git pull
git pull
It downloads updates and applies them.
Like:
“Bring updates and put it into my project.”
Push new branch to remote (common in office)
22) git push --set-upstream origin feat/a
git push --set-upstream origin feat/a
When remote has only main branch, and your feature branch is new, you use this.
It will:
create branch on remote
push your commits
connect upstream
Fork and Pull Request
Fork: Copy someone’s remote repository into your account.
Pull Request: You push changes to your repo and request owner to accept your changes.
This is how many teams work.
A basic workflow
If you are working like real developer:
Start project
git initWork normally, keep checking
git statusStage changes
git add .Save checkpoint
git commit -m "Message"Create feature branch for new work
git checkout -b feat/aBefore merging, sync with main
git rebase mainMerge into main
git checkout main
git merge feat/a
(orgit merge --squash feat/a)Push to GitHub
git pushIf you made mistake in shared repo
Usegit revert(safe)